
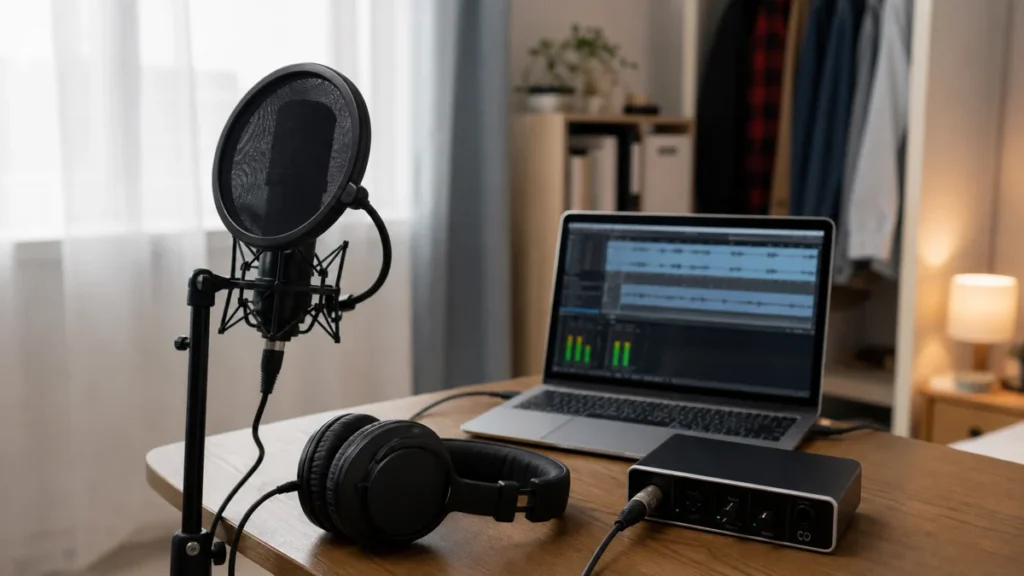
Set up a quiet vocal corner by choosing the quietest part of the room, moving reflective surfaces away from the microphone path, controlling distance from the mic, checking gain before the loudest line, and monitoring with closed-back headphones.
MusicalCritic may earn a commission from qualifying links. Illustrative generic home recording setup; no exact product model or hands-on test is pictured.
Quick Answer
Set up a quiet vocal corner by choosing the quietest part of the room, moving reflective surfaces away from the microphone path, controlling distance from the mic, checking gain before the loudest line, and monitoring with closed-back headphones. You do not need a perfect studio before recording useful vocals, but you do need a repeatable setup that avoids obvious noise, room echo, and clipping.
Who This Is For
This checklist is for beginners recording vocals at home with a USB microphone, an entry-level audio interface, or a simple XLR vocal mic. It is also useful if your takes sound distorted, roomy, or inconsistent even when the performance itself is good.
It is not for professional studio design, construction-level acoustic treatment, or advanced vocal chain engineering.
The Checklist
- Pick the quietest recording time. Turn off fans, air conditioning bursts, laundry machines, loud computer fans, and nearby speakers before judging the room.
- Face away from the hardest wall. If possible, sing toward a softer area such as hanging clothes, curtains, a mattress, or a bookshelf with uneven surfaces.
- Keep the microphone away from room corners. Corners can exaggerate low-mid buildup and make a vocal feel boxy.
- Set the pop filter or hand distance first. A beginner-friendly starting point is roughly a hand span from the mic, then adjust after listening.
- Check the loudest lyric, not the average lyric. Gain that looks fine during a quiet line can still clip when the chorus arrives.
- Use closed-back headphones. Open speakers can leak into the microphone and make the take harder to edit.
- Record 20 seconds and listen before doing full takes. Check for clipping, hiss, echo, plosives, and headphone bleed.
- Change one variable at a time. Move the mic, adjust gain, or change distance separately so you know what fixed the problem.
Common Mistakes
Do not solve every vocal problem by buying a more expensive microphone. A better mic can still sound rough if the room is noisy, the gain is too high, or the singer is too close to the capsule.
Do not record right beside a bare wall if another part of the room is softer. The goal is not to make the room dead; the goal is to reduce the most obvious reflections reaching the mic.
Do not trust the waveform alone. A take can avoid visible clipping and still sound harsh if the microphone position, distance, or room reflections are working against the vocal.
What To Upgrade First
If your room is quiet but the vocal clips easily, check gain staging and mic distance before buying treatment. If the vocal sounds echoey, start with soft furnishings or portable absorption before buying another microphone. If the take has hiss or unstable monitoring, your audio interface, cable, or headphone setup may be the better upgrade path.
What To Read Next
For the broader beginner path, see home vocal recording. If echo is the main issue, read how to reduce room echo for vocals without foam panels. For monitoring choices, read how to choose headphones for recording vocals at home. If your desk is the constraint, see small desk vocal recording setup for bedrooms.
FAQ
Do I need acoustic foam before recording vocals?
No. Foam can help with some reflections, but beginners should first control noise, mic placement, distance, gain, and headphone bleed. Those fixes are cheaper and easier to verify.
Should I record vocals in a closet?
A closet can work if it is quiet and not too boxy. Clothes can reduce reflections, but very small closets can make vocals sound muffled or closed-in.
Why does my vocal distort if the room is quiet?
Quiet rooms do not prevent clipping. Distortion can come from too much input gain, singing too close to the mic, overloading a USB mic, or processing added later in the recording chain.