
Learn Home Recording
Home Vocal Recording for Beginners
A Learn scenario hub for building a beginner-friendly vocal recording setup at home.
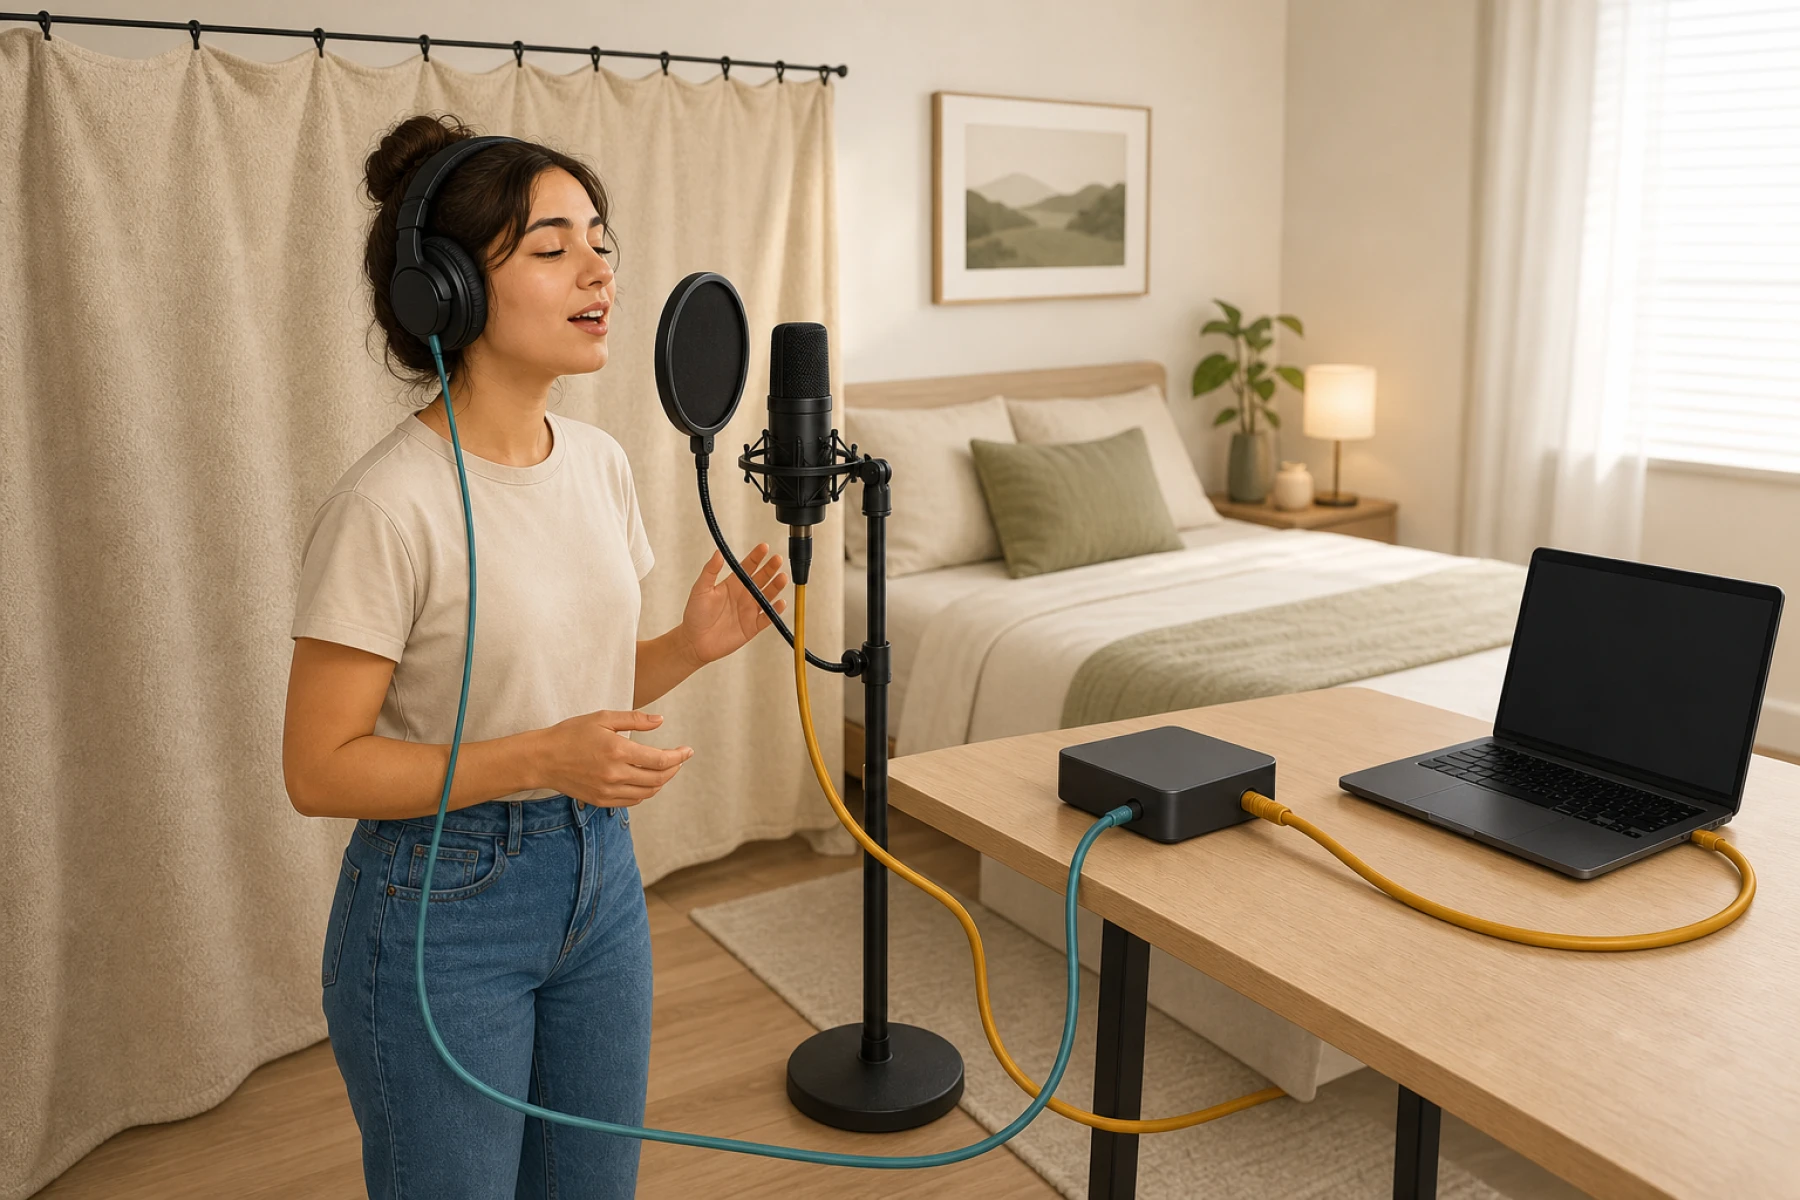
Scenario Hub
Answer first: A beginner home vocal recording setup needs a microphone that fits the room, a clean path into the computer, closed-back headphones, a stable stand, pop control, and enough room control to stop reflections and noise from dominating the recording. Start with the chain, not with the most expensive microphone.
MusicalCritic may earn a commission when readers buy through qualifying links. Editorial recommendations remain based on fit, setup needs, reader value, and clearly stated tradeoffs.
Start with the simplest reliable vocal chain
For most beginners, the minimum reliable vocal chain is:
- Microphone: USB for simplicity, or XLR if you want a longer upgrade path.
- Input path: direct USB connection, or an audio interface for XLR microphones.
- Closed-back headphones: needed so the backing track does not bleed into the vocal microphone.
- Stand or boom arm: keeps the microphone stable and repeatable.
- Pop filter or windscreen: reduces plosives from P, B, and close vocal work.
- Basic room control: distance from walls, soft furnishings, and lower background noise before buying more gear.
If that chain is not clear, a better microphone will not fix the workflow. The first win is a setup that records a clean vocal take without computer fan noise, headphone bleed, desk vibration, or harsh room echo becoming the main sound.
Choose USB when speed matters, XLR when growth matters
| Path | Best for | Watch out for | Next step |
|---|---|---|---|
| USB microphone | Beginners who want one cable, simple setup, and quick demos. | Less flexible upgrade path, headphone monitoring quality varies by model. | Read the USB vs XLR comparison before buying a second microphone. |
| XLR microphone plus interface | Singers who want better upgrade options, direct monitoring, and a chain that can grow. | Requires an interface, XLR cable, gain setup, and sometimes phantom power. | Check the first audio interface guide and confirm input count. |
| Dynamic vocal microphone | Untreated rooms, louder singers, rehearsal spaces, and close vocal work. | May need more clean gain from the interface. | Compare vocal dynamics before chasing condenser detail. |
| Condenser microphone | Quieter rooms where detail and sensitivity are useful. | Captures more room sound, fan noise, keyboard noise, and reflections. | Fix placement and room noise before assuming it is the upgrade. |
Room reality matters more than spec sheets
A quiet treated room can make a condenser microphone feel detailed and open. A reflective bedroom can make the same microphone expose echo, laptop fan noise, and traffic. That does not make condenser microphones bad; it means the room is part of the instrument.
In an untreated room, do not decide from transducer type alone. Pickup pattern, distance, singer level, placement relative to noise and reflections, interface gain, and the specific microphone all affect the result. A directional dynamic microphone used close can be practical, while a condenser can work when room noise and reflections are controlled. Test the actual chain before treating either category as a guarantee.
Check your room before buying another microphone
Answer first: If your bedroom is untreated, test the room and recording chain before assuming a more expensive microphone is the fix. Listen for fan or AC noise, hard-surface reflections, headphone bleed, plosives and clipping in a short test take. Then change one variable at a time: recording position, microphone distance and angle, temporary absorption, input gain, or the microphone itself.
Neither type is automatically better for every untreated bedroom. A directional dynamic microphone used close can be practical in some rooms, while a condenser can work well when noise and reflections are controlled. Pickup pattern, placement, singer level, interface gain and the specific microphone all matter, so use the labels dynamic and condenser as starting points rather than guarantees.
| What you hear in the test | Check next | Do not assume |
|---|---|---|
| Fan, AC, traffic or computer noise is obvious | Try a quieter time or position, point the microphone away from the unwanted source when its pickup pattern allows, and make another test. | A higher-priced microphone will remove environmental noise. |
| The vocal sounds distant or the room sounds splashy | Move away from hard reflective surfaces, test a closer consistent working distance, and compare a safe temporary soft barrier behind the singer. | A closet or reflection filter is a complete substitute for room treatment. |
| The input meter clips or the take distorts | Lower input gain and repeat the loudest part of the performance before changing microphones. | Room treatment will fix electrical or digital clipping. |
| Plosives or headphone bleed are the main problem | Adjust microphone angle, add pop control, use closed-back headphones and reduce monitoring spill. | The microphone category is the only cause. |
| The result improves clearly when placement changes | Mark the repeatable singer and microphone positions before buying more gear. | The first test position represented the microphone’s full capability. |
Use a room-first, setup-first, or mic-first decision
- Room first: background noise or reflections remain obvious across otherwise clean test takes.
- Setup first: clipping, unstable distance, plosives, vibration or headphone bleed is the real blocker.
- Microphone decision next: the room and setup are usable, but the current connection, pickup pattern, output level or workflow still does not fit the singer’s needs.
Continue with condenser versus dynamic microphones for quiet bedroom vocals, a vocal booth versus a treated corner, dynamic-microphone technique in an untreated room, or recording quiet vocals without raising the noise floor.
Evidence boundary: This section responds to recurring beginner questions found in bounded public-discussion research. Those discussions identify confusion and decision needs; they do not prove acoustic performance or universal microphone rankings. Technical guidance was checked separately against manufacturer education and support material.
Best for and not for
Best for
- Beginner singers recording demos, covers, lessons, or songwriting ideas at home.
- Home studio creators deciding between USB simplicity and XLR flexibility.
- Readers who need to understand the whole recording chain before buying gear.
Not for
- Advanced engineers building an outboard preamp chain or treated studio room.
- Buyers looking for one universal microphone ranking without room context.
- Readers who need current price, stock, or retailer-specific bundle advice.
What to buy first
Buy the pieces that remove failure points first. A stable stand, pop filter, XLR or USB cable, and closed-back headphones often matter more than moving one step up in microphone price. If the microphone cannot stay in position, if the cable is wrong, or if the singer hears latency while tracking, the recording session will still feel broken.
A practical first chain looks like this:
- Pick a microphone type that fits the room: dynamic for forgiving close vocals, condenser for quiet controlled spaces, USB for simplicity, XLR for growth.
- Confirm the input path: USB direct, or XLR into an interface with enough gain and phantom power if needed.
- Add closed-back headphones before recording vocals over a backing track.
- Add a stand and pop filter before upgrading the microphone.
- Record a short test take and listen for room echo, clipping, headphone bleed, and background noise.
Common beginner mistakes
- Buying a sensitive condenser microphone for a noisy room and blaming the microphone for room sound.
- Buying an XLR microphone without an audio interface, mixer, recorder, or compatible input path.
- Recording vocals with open-back headphones and letting the backing track bleed into the microphone.
- Skipping the stand and pop filter, then fighting plosives and inconsistent distance.
- Comparing microphones without checking whether the interface can provide enough clean gain.
Read next
- Beginner Vocal Recording Setup Checklist: What You Actually Need First
- Best Microphones for Vocals: A Practical Starter Guide
- How to Choose Your First Microphone for Home Recording
- How to Set Up a Home Vocal Recording Chain
- Dynamic vs Condenser Microphones for Vocals
- USB Microphones vs XLR Microphones
- Is the Shure SM58 Good for Recording Vocals at Home?
- Best Home Studio Accessories for Vocal Recording
- Best Bedroom Vocal Recording Accessories to Fix Echo First
- How to Make a Bedroom Vocal Corner Sound Less Echoey
- Reflection Filter vs Blankets for Home Vocals
FAQ
What equipment do I need to record vocals at home?
You need a microphone, a way to connect it to the computer, closed-back headphones, a stand, pop control, and a quieter recording position. XLR microphones usually need an audio interface. USB microphones can connect directly.
Should a beginner buy a USB microphone or an XLR microphone?
Choose USB if you want the fastest simple setup. Choose XLR if you want a more flexible path with an audio interface, direct monitoring, and easier future microphone upgrades.
Is a dynamic or condenser microphone better for bedroom vocals?
Neither type is automatically better for every bedroom. Compare directional models at a practical, repeatable distance and listen for room reflections, background noise, proximity effect and available interface gain. A close-used dynamic can be practical in some untreated rooms; a condenser can work well when the room and placement are controlled.
Do I need an audio interface for vocal recording?
You need an audio interface for most XLR microphone setups. You do not need one for many USB microphones, although an interface can still be useful when you want XLR microphones, instrument inputs, direct monitoring, or a stronger upgrade path.
What should I upgrade first if my vocal recording sounds bad?
Check placement, distance, gain level, pop control, room noise, and headphone bleed before buying another microphone. Many beginner recordings improve more from better setup discipline than from a more expensive microphone.
Review basis
This hub is based on editorial research, visible manufacturer setup requirements, common home recording workflows, and MusicalCritic editorial judgment. It does not claim hands-on testing, fixed rankings, real-time prices, stock status, retailer authorization, or measured lab results.