
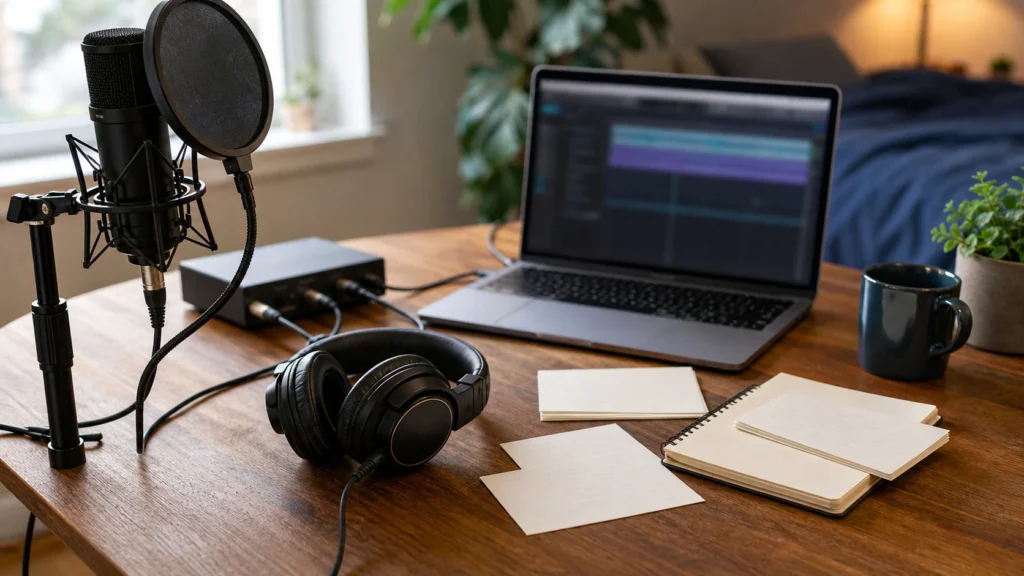
Labeling vocal takes is not just a studio habit. It helps beginners remember which take had the best timing, which one had plosives, and which one used a different microphone distance. Use simple names, short notes, and one repeatable setup marker instead of filling the session with mystery clips.
MusicalCritic may earn a commission from qualifying links. Illustrative home recording setup; no exact product model or hands-on test is pictured.
Quick Answer
Label each vocal take with the section, take number, and one useful note. A practical label can be as simple as verse take 03 clean ending or chorus take 02 too close. Keep the system short enough that you will actually use it during a beginner session.
Who This Is For
This is for singers, rappers, podcasters, and songwriters recording at home who end up with several similar clips and no clear memory of which take was strongest. It is also useful when you are learning mic distance, gain, headphone level, and room placement.
What To Write Down
- The song or project section: verse, chorus, hook, bridge, intro, outro, ad read, or spoken section.
- The take number in plain order.
- One performance note, such as clean start, flat ending, good energy, noisy chair, clipped word, too close, or best phrase.
- Any setup change that affects the sound, such as moved mic back, lower gain, blanket behind singer, or laptop farther away.
A Simple Label Format
| Part | Example | Why it helps |
|---|---|---|
| Section | Verse | You know where the take belongs. |
| Take number | 03 | You can compare in order. |
| Short note | best emotion | You remember why it mattered. |
| Setup note | mic back | You avoid confusing performance changes with sound changes. |
Keep Bad Takes Useful
Do not delete every imperfect take immediately. A take with a weak ending may still have the best first line. A take with one noisy breath may still teach you that the mic was too close. Mark obvious rejects, but keep them until you choose a final comp or clean version.
Do Not Change The Setup And The Performance At Once
If you move the microphone, change gain, lower headphone volume, and sing a different melody in the same pass, it becomes hard to know what improved. Label setup changes separately from performance notes. That habit makes home recording decisions more repeatable.
Beginner Workflow
- Record a short test phrase and label it as setup check.
- Record two or three full takes without stopping for tiny mistakes.
- Listen back once and mark the strongest take for each section.
- Record targeted retakes only for weak lines.
- Keep one note about mic distance, gain, and headphone level for the session.
Common Mistakes
Do not leave every clip named only by the software default. Do not use long labels that slow the session down. Do not mark a take as best before listening in context. Do not change mic distance without writing it down. Do not confuse the loudest take with the best take.
What To Read Next
For setup basics, start with home vocal recording. For a stable desk layout, read small desk vocal recording setup for bedrooms. For gain decisions, read how to set input gain for home vocal recording.
FAQ
Do beginners need detailed take sheets?
No. A few short labels are usually enough. The goal is to choose better takes, not to create paperwork.
Should I label every mistake?
No. Mark only the mistakes that affect decisions: clipping, plosives, noise, weak pitch, missed timing, or strong phrases worth keeping.
Can I label takes after recording?
Yes, but labeling during the session is easier because you remember what changed. If you wait, write down only what you can verify by listening.