
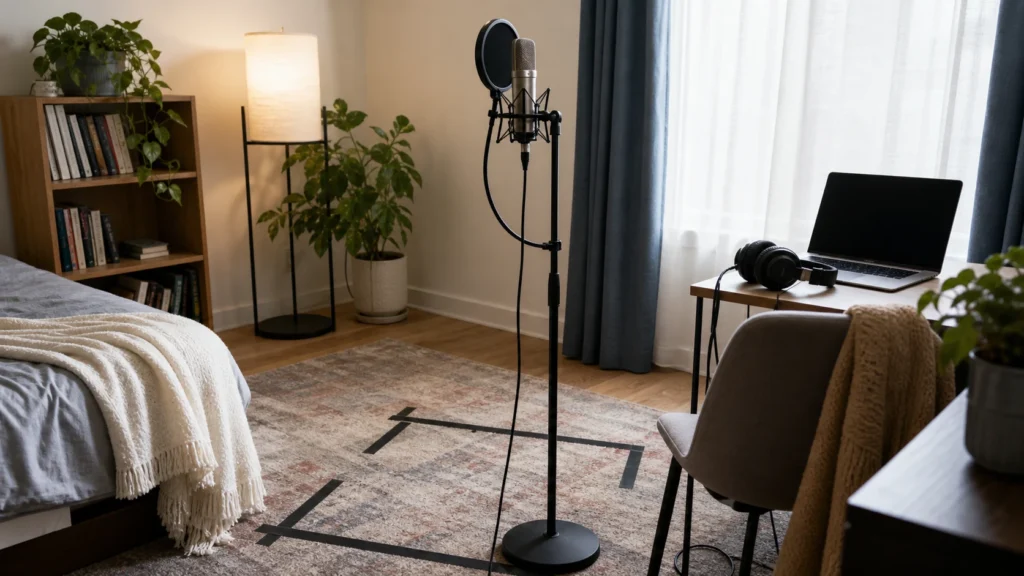
Consistent vocal takes come from repeating the same conditions: mic distance, gain, headphone level, room position, posture, and performance energy. Beginners often chase a new microphone when the real problem is that every take is recorded from a different place.
MusicalCritic may earn a commission from qualifying links. Illustrative home recording setup; no exact product model or hands-on test is pictured.
Quick Answer
To keep vocal takes consistent, mark the singer position, keep the mic at the same height and distance, set gain from the loudest phrase, keep headphone volume stable, and write down any setup change before recording the next take.
Who This Is For
This guide is for beginner vocalists, rappers, podcasters, and songwriters who record multiple takes at home and wonder why one take sounds close, another sounds roomy, and another sounds noisy even when the same microphone was used.
Lock The Mic Distance First
Mic distance changes tone, plosives, room sound, and level. Choose a comfortable distance and repeat it. A pop filter can act as a physical guide because it gives you a visual reference for where your mouth should be. If you move the mic, label the take so you know what changed.
Keep Gain Stable
Set input gain from the loudest phrase you expect to record. If you change gain between takes, the later comparison may be unfair. A louder waveform is not automatically a better performance. If one take clips, lower gain and record that section again instead of saving the clipped take as the winner.
Use The Same Monitoring Level
Headphone volume changes how loudly you sing. If the track is too loud, you may push harder. If it is too quiet, you may sing timidly. Choose a comfortable level and keep it there unless headphone bleed becomes obvious.
Consistency Checklist
| Check | What to repeat | Why it matters |
|---|---|---|
| Mic height | Same capsule position | Keeps tone and plosives predictable. |
| Mic distance | Same mouth-to-filter space | Controls room sound and low-end changes. |
| Gain | Same setting after loud test | Makes takes easier to compare. |
| Headphones | Same volume and fit | Reduces performance and bleed changes. |
| Room position | Same spot in the room | Keeps reflections similar. |
When You Should Change Something
Change the setup only when you have a reason. Examples include obvious plosives, clipping, laptop fan noise, too much room echo, or headphone bleed. Change one thing, record a short comparison, and label the take so you can trace the result.
Common Mistakes
Do not compare a close whisper with a loud take from two feet away. Do not move the laptop, mic, and room treatment at the same time. Do not raise gain to make a quiet performance feel better. Do not ignore chair noise, cable taps, or floor movement just because the vocal itself sounds good.
What To Read Next
For the full beginner path, see home vocal recording. For room positioning, read how to record vocals in a small bedroom. For headphones, read how to choose headphones for recording vocals at home.
FAQ
Should every take sound identical?
No. Performance changes are normal. The goal is to keep the recording conditions consistent so you can judge the performance fairly.
Can I punch in with a different mic position?
You can, but it may sound obvious. Try to repeat the original mic distance, gain, and room position before punching in.
What if the first take is the best but sounds worse?
Keep the first take and compare whether the problem is fixable. Sometimes a strong performance with a small technical flaw is better than a perfect-sounding weak take.