
Backing vocals work best when they support the lead vocal instead of competing with it. Beginners should plan the parts, keep the same recording position, label each section clearly and check the blend at a low volume before stacking more takes.
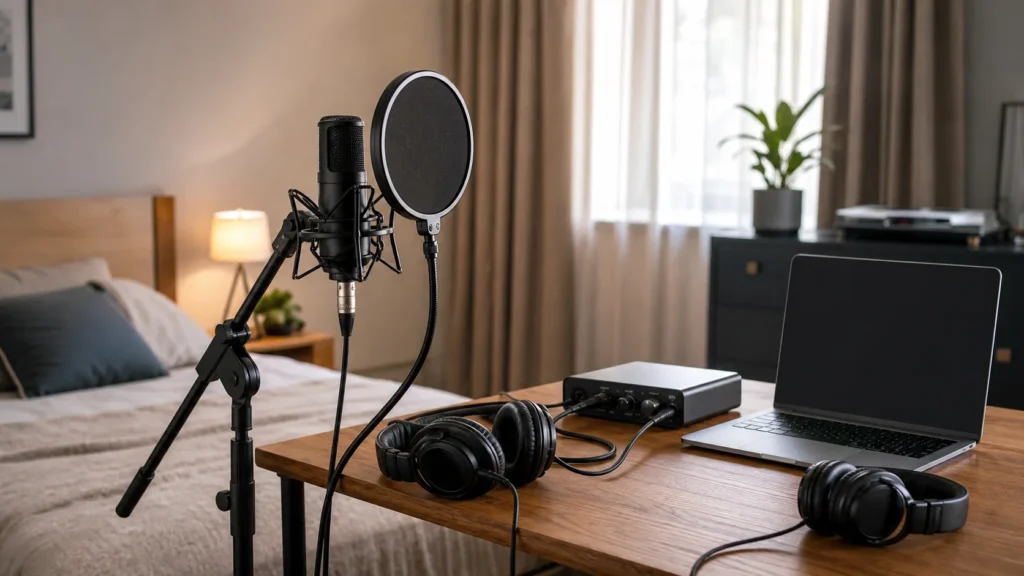
MusicalCritic may earn a commission from qualifying links. Illustrative home recording setup; no exact product model or hands-on test is pictured.
Quick Answer
To record backing vocals at home, write down the support parts, set the microphone like the lead vocal, use closed-back headphones, record one section at a time, label harmony and response parts separately, then check whether the backing vocal helps the lead without covering the main words.
Who This Is For
This is for beginner musicians, songwriters and home studio creators who already have a lead vocal and want simple harmonies, answer lines, chorus support or soft background layers. It is not a guide for advanced choir arranging or complex vocal production.
Start With The Job Of Each Part
Before recording, decide whether the backing vocal is a harmony, a double, an answer phrase or a texture. A harmony follows the lead with different notes. A response answers the lead between lines. A texture may be softer and less word-focused. Naming the job keeps the session from turning into random extra takes.
Keep The Recording Position Repeatable
Use the same room spot, mic distance, pop filter position and input gain for related backing parts unless you want them to sound deliberately different. If one harmony is close and another is far away, the blend can feel uneven. Mark your standing or seated position and keep the headphone level comfortable.
Beginner Backing Vocal Workflow
- Choose one song section, such as the chorus or hook.
- Write a short label for each backing part.
- Record two or three passes of the first part before adding another idea.
- Listen with the lead vocal at a normal level, then at a low level.
- Keep only parts that make the hook clearer or stronger.
What To Check
| Check | Why it matters | Beginner move |
|---|---|---|
| Timing | Late words distract from the lead | Match consonants and endings. |
| Level | Backing parts can cover the main lyric | Start lower than you think. |
| Pitch feel | Unsure notes weaken the blend | Record short sections instead of full-song passes. |
| Labels | Unlabeled stacks get confusing | Name parts by section and role. |
Common Mistakes
Do not stack backing vocals before the lead take is stable. Do not sing every backing part at the same loudness. Do not record from a new distance without noting it. Do not leave confusing names like audio one and audio two. Do not add harmonies just because there is empty space.
What To Read Next
For thicker lead support, read how to record vocal doubles at home. For take labels, read how to label vocal takes. For overall setup, start with home vocal recording.
FAQ
Should backing vocals use the same microphone?
Yes, beginners can use the same microphone and setup. Consistency usually helps the parts blend.
How many backing vocal tracks do I need?
Start with one or two useful parts. More tracks are only helpful when they make the song clearer or more exciting.
Should backing vocals be louder than the lead?
Usually no. They normally sit behind the lead unless a response line is meant to become the focus.