
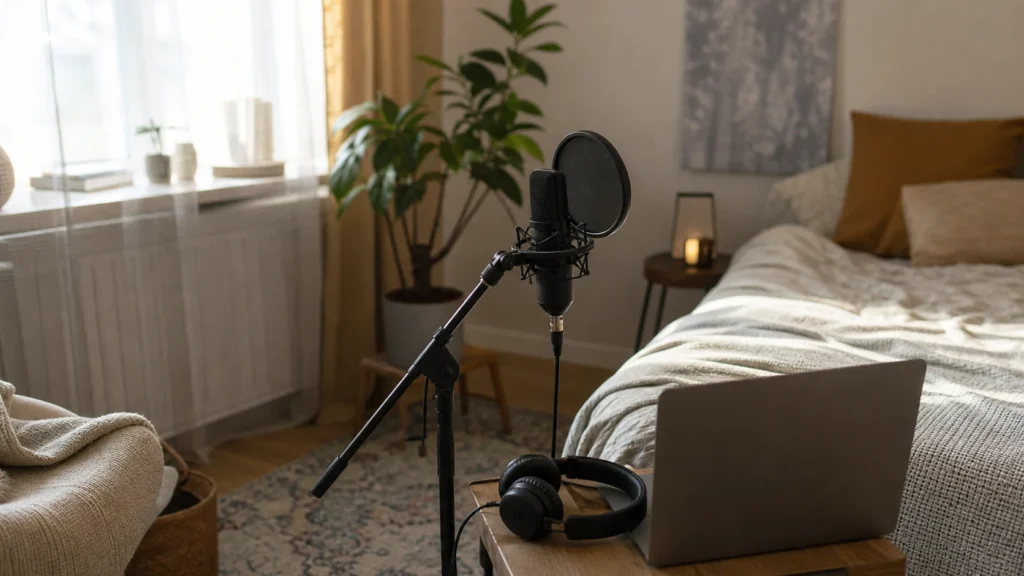
A quiet apartment vocal setup is less about buying the most sensitive microphone and more about controlling the sound that reaches it. Start with a stable mic position, closed-back headphones, a quiet recording time, a lower-noise room corner, and one short test take before you change gear.
MusicalCritic may earn a commission from qualifying links. Illustrative apartment recording setup; no exact product model or hands-on test is pictured.
Quick Answer
For apartment vocals, use the quietest practical room, record away from windows and shared walls, keep the microphone close enough that you do not need excessive gain, monitor with closed-back headphones, and use soft room materials to reduce reflections. Do not expect a portable shield, blanket, or foam panel to soundproof the apartment.
Who This Is For
This guide is for beginner singers, rappers, podcasters, and songwriters recording in apartments, dorm rooms, bedrooms, or shared living spaces. It is especially useful if you need clearer vocals without bothering neighbors or capturing every fan, chair, and hallway noise.
Who This Is Not For
This is not a professional isolation-room plan, a product ranking, or a legal noise complaint guide. If building noise is loud, neighbors are sensitive, or the room has constant traffic, no microphone choice can fully solve the problem by itself.
Start With The Quietest Recording Window
Before changing microphones, test when the apartment is quietest. Turn off loud appliances if you can do so safely, wait for HVAC cycles to calm down, and avoid recording near hallway traffic. A five-minute quiet window can improve a vocal take more than an expensive accessory used during a noisy time.
Keep The Mic Close, But Not Unusable
A closer mic position lets you use less input gain, which can make room noise feel less obvious. Do not crowd the capsule or sing directly into plosives. Start with a pop filter or windscreen, sing slightly off-axis if plosives hit hard, and record a loud phrase before setting the final gain.
Choose The Room Position Before The Gear
| Apartment problem | Better first move | Why it helps |
|---|---|---|
| Window or street noise | Move away from the window | The mic captures less direct outside noise. |
| Shared wall noise | Face a softer part of the room | Curtains, bedding, and clothes can reduce sharp reflections. |
| Laptop fan noise | Angle the mic away from the laptop | Less fan sound reaches the microphone path. |
| Desk bumps | Use a stable stand or isolate the mic from the desk | Fewer taps travel into the recording. |
Use Closed-Back Headphones
Closed-back headphones help keep the backing track out of the microphone. Keep the headphone volume comfortable rather than loud. If the guide vocal or beat leaks into the take, lower headphone level before blaming the microphone.
Soft Materials Help Reflections, Not Soundproofing
Blankets, curtains, rugs, bedding, and hanging clothes can make a small room less sharp. They do not block neighbors, traffic, or impact noise. Use them to reduce reflections around the singer, not as proof that the room is isolated.
Quiet Apartment Vocal Checklist
- Record during the quietest practical time.
- Move the mic away from windows, fans, and shared walls when possible.
- Use closed-back headphones and keep playback volume moderate.
- Set gain from the loudest phrase you expect to sing.
- Record 10 seconds of room tone before the vocal take.
- Listen back for fan noise, chair movement, cable taps, and headphone bleed.
- Change one variable at a time so you know what helped.
Common Mistakes
Do not buy foam expecting it to block apartment noise. Do not raise input gain because the headphone mix feels quiet. Do not place the mic next to a laptop fan. Do not record facing a bare wall if a softer room angle is available. Do not treat a single quiet test as proof that every time of day will work.
What To Read Next
For the broader beginner path, see home vocal recording. If you use a USB mic, read can you record vocals with a USB mic in an apartment?. If you are comparing mic types, see dynamic mic vs USB condenser for apartment vocals. If echo is the main issue, read how to reduce room echo for vocals without foam panels.
FAQ
Is a dynamic mic always better for apartment vocals?
No. A dynamic mic can be useful when room noise is a problem, but placement, gain, headphone bleed, and recording time still matter. A badly placed dynamic mic can still capture a noisy apartment.
Can I whisper or sing quietly to avoid disturbing neighbors?
You can record quieter vocals, but whispering changes tone and can make performance problems harder to fix. A controlled close mic position is usually better than singing unnaturally quietly.
Do portable vocal shields help?
They can reduce some reflections around the mic, but they do not soundproof the apartment. Beginners should solve placement, room timing, gain, and headphone bleed first.
Should I record in a closet?
A closet can work if it is quiet, comfortable, and not too boxy. Clothes may help reflections, but cramped spaces can also sound dull or uneven. Test it against your normal desk setup before committing.