
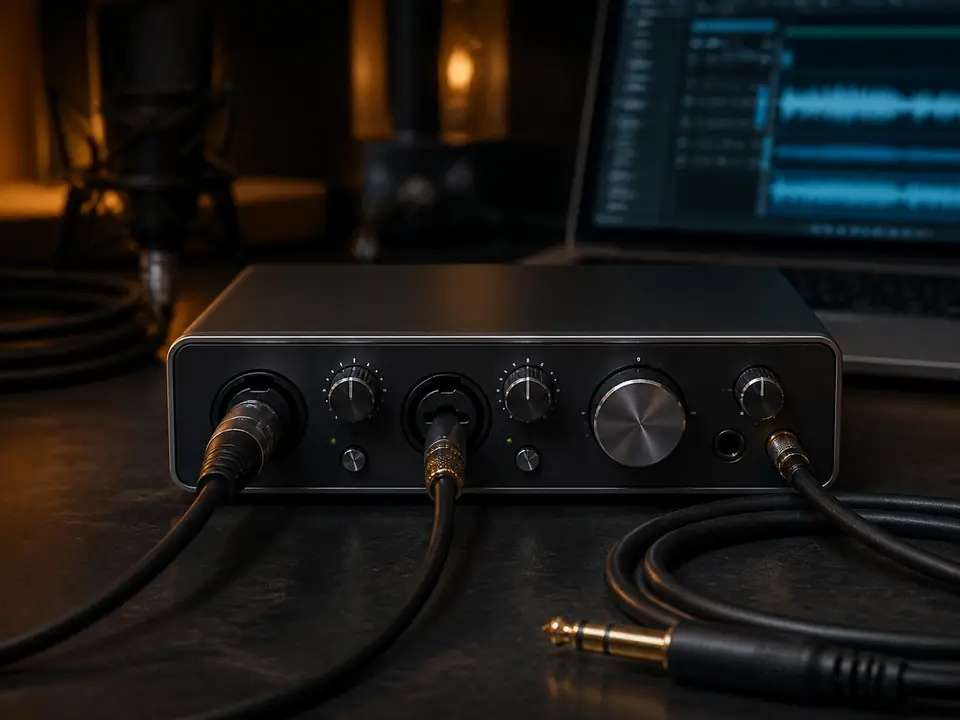
Short Answer
If you already own a USB microphone, the best XLR upgrade path is not to replace everything at once. Keep any usable closed-back headphones, add a simple audio interface, choose one XLR vocal microphone, buy one reliable XLR cable, then improve the stand and pop control where needed.
The point of XLR is flexibility and better hardware control. It is not automatically better if the room, placement, gain and monitoring are still uncontrolled.
Evidence boundary: this is an editorial buying-priority guide. It does not claim current prices, stock status, hands-on tests, retailer rankings or brand authorization.
Upgrade order
| Step | Upgrade | Why it matters |
|---|---|---|
| 1 | Audio interface | Lets you use XLR microphones and control gain/monitoring in hardware |
| 2 | One XLR vocal mic | Gives you a dedicated microphone path beyond the USB mic |
| 3 | XLR cable | Connects the mic path reliably without buying unnecessary extras |
| 4 | Stand and pop control | Stabilizes distance and reduces plosives |
| 5 | Room-control accessories | Helps only after placement and capture are repeatable |
When the upgrade is worth it
Move to XLR when your USB microphone feels limiting because you want more microphone choices, better monitoring control, instrument inputs, or a setup that can grow piece by piece. If the current problem is only room echo, an interface alone will not fix it.
For the earlier decision, read Dynamic Microphone vs USB Microphone for Bedroom Vocals. For interface priorities, use Best Audio Interfaces for One-Person Vocal Recording.
What to keep from your USB setup
Keep closed-back headphones if they are comfortable and do not leak badly. Keep a stable stand if it holds position. Keep any pop filter or windscreen that actually reduces plosives. Replace only the parts that create a real recording problem.
What not to buy first
- Studio monitors before headphone monitoring works.
- Multiple microphones before you can use one well.
- Expensive plug-ins before clean capture.
- Large acoustic packages before you test room position.
FAQ
Should I keep my USB microphone after buying XLR gear?
Often, yes. It can remain useful for travel, calls, scratch vocals or quick demos while the XLR setup becomes your main recording path.
Do I need a new stand for an XLR microphone?
Only if your current stand is unstable, too short, noisy or unable to hold the microphone in a repeatable position.
Should I buy a bundle?
A bundle can reduce confusion, but it is weaker if it includes accessories you will replace quickly. Compare the logic in Best Audio Interface Bundles for Home Vocal Recording.
Where should I go next?
Start from the Home Vocal Recording hub and check your mic placement, gain and headphone path before buying the next part.
How We Test
Editorial buying guide based on MusicalCritic beginner home-vocal workflow analysis checked 2026-07-18. This page does not claim hands-on testing, current pricing, stock status, rankings or brand authorization.
Review Basis
MusicalCritic beginner home-vocal workflow analysis checked 2026-07-18.