
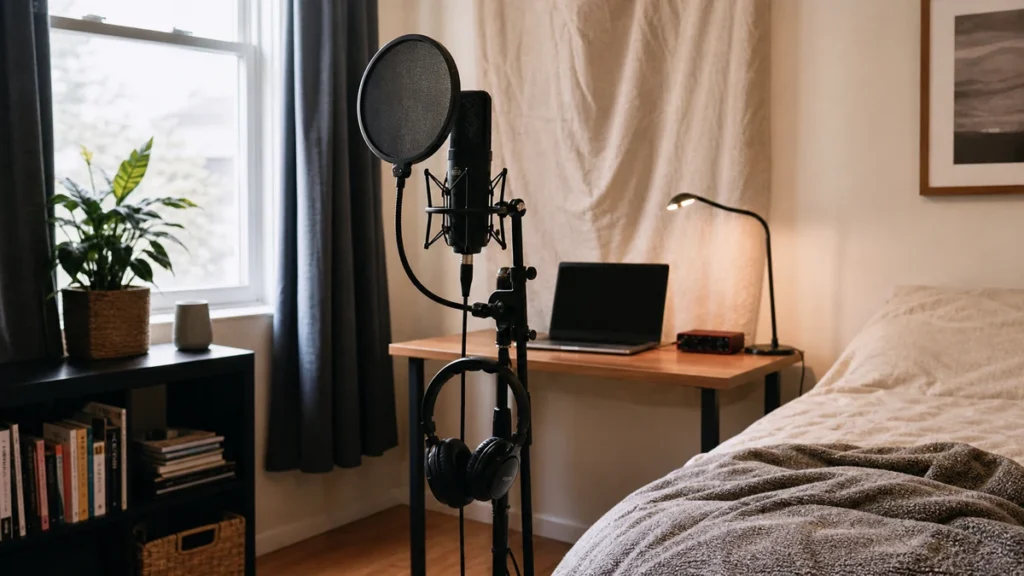
Recording vocals in a small bedroom is mostly about controlling distance, noise and monitoring. You do not need a perfect room to make usable vocal demos, but you do need a repeatable setup that keeps the microphone close, the room quiet and the headphone mix comfortable.
MusicalCritic may earn a commission from qualifying links. This page uses source-bounded editorial guidance; it does not track real-time offers, availability or seller review scores.
Quick Answer
Start by recording away from bare walls and windows, use closed-back headphones, place the microphone close enough for a strong vocal signal, control plosives with a pop filter and record a short check take before doing a full pass. Soft room materials can reduce reflections, but they do not turn a bedroom into an isolation room.
Step 1: Pick The Quietest Part Of The Room
Choose the part of the bedroom with the least fan noise, street noise and computer noise. If possible, face into a softer area with curtains, bedding, clothes or a bookcase behind the microphone. Avoid singing directly into a bare wall corner because it can make the voice sound boxy and uneven.
Step 2: Set The Microphone Close Enough
For most beginner vocal takes, the singer should be close enough that the direct voice is stronger than the room sound. A pop filter or foam windscreen helps keep plosives under control while keeping distance consistent. If the vocal sounds boomy, move back slightly or angle the microphone. If the room becomes too obvious, move closer and lower the input gain.
Step 3: Use Closed-Back Headphones
Closed-back headphones reduce the chance of the backing track leaking into the microphone. Keep the headphone level comfortable rather than loud. Loud headphone monitoring can cause bleed and can make the singer push too hard. If the timing feels delayed, check your software buffer or use direct monitoring if your interface supports it.
Step 4: Record A Short Check
Record ten to twenty seconds of the loudest chorus or phrase before doing the real take. Listen for clipping, heavy plosives, room echo, desk vibration and noise between lines. It is faster to move the microphone or close a window before the session than to repair a whole vocal later.
Small Bedroom Mistakes To Avoid
- Do not put the microphone across the room and raise gain to compensate.
- Do not record with open speakers playing the backing track.
- Do not assume a reflection filter fixes a noisy room by itself.
- Do not record beside a loud laptop fan if the microphone is pointed at it.
- Do not change distance every line unless the performance needs it.
When To Upgrade Gear
Upgrade only after the basic workflow is stable. If your takes are noisy because of traffic, a more expensive microphone may make the problem more obvious. If your timing feels delayed, learn monitoring first. If your vocal level is clean but the tone is inconsistent, improve placement and performance distance before changing the whole kit.
Read Next
The home vocal recording hub links the full beginner workflow. For apartment-specific constraints, read can you record vocals with a USB mic in an apartment? For gain staging, use what level should vocals peak at when recording?
FAQ
Should I record in a closet?
A closet with clothing can help tame reflections, but it can also sound cramped. Try it, compare it with a soft part of the bedroom and choose the take that sounds clearer.
Do I need acoustic panels first?
Not always. Beginners should first control noise, distance, gain and monitoring. Panels can help later, but they are not the first fix for every bedroom vocal problem.