
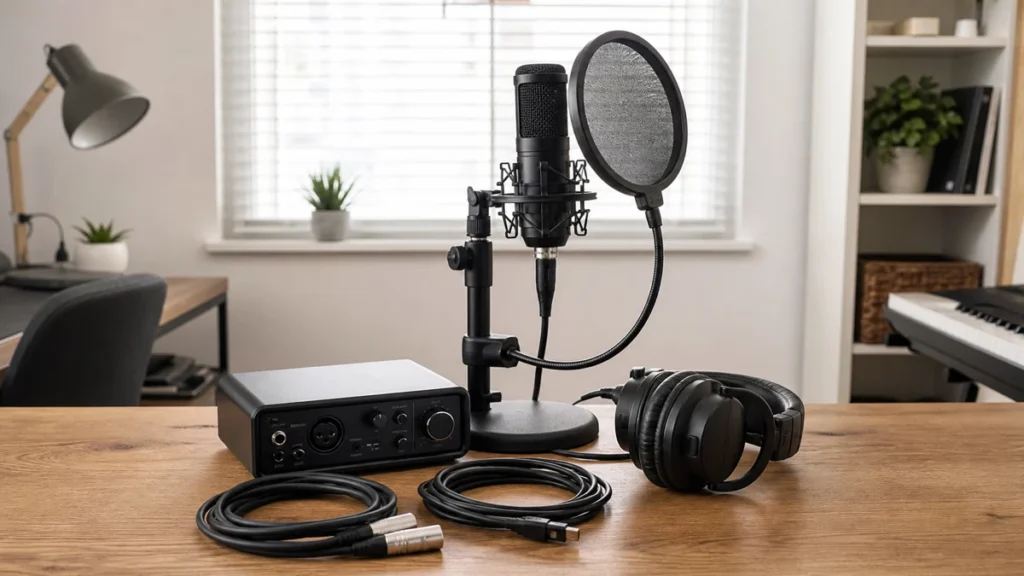
A good budget vocal recording kit under 300 is not the kit with the most impressive microphone name. It is the setup that gives a beginner a usable microphone path, closed-back headphones, stable mounting, pop control and a clean way to monitor without spending the whole budget on one part.
MusicalCritic may earn a commission from qualifying links. This page uses source-bounded editorial guidance; it does not track real-time offers, availability or seller review scores.
Quick Answer
For most beginners, the safest fixed-budget vocal kit is either a simple USB microphone setup with closed-back headphones and a stable arm, or an entry XLR microphone setup with a basic audio interface, XLR cable, pop filter and headphones. The USB route is easier. The XLR route gives more upgrade room and cleaner monitoring control.
Best Setup Paths
Simple USB Vocal Kit
Choose this if you want the fewest parts and you mainly record voice, demos, lessons or content at a desk. The core pieces are a USB microphone, closed-back headphones, pop filter or foam windscreen and a stand or boom arm that keeps the mic close without desk vibration. This path is useful when you do not want to learn interface gain, phantom power or direct monitoring on day one.
Starter XLR Vocal Kit
Choose this if you want to grow into better microphones later. The core pieces are an XLR microphone, a one- or two-input audio interface, an XLR cable, closed-back headphones, pop filter and stable mount. Do not buy an XLR microphone without checking whether it needs phantom power and whether your interface can provide it.
What The Budget Must Cover
The common beginner mistake is to spend nearly everything on the microphone and then record through loose stands, open headphones, noisy rooms and awkward cable runs. A balanced kit should reserve money for the parts that prevent problems: closed-back headphones to reduce bleed, a pop filter to control plosives, a mount that lets the capsule sit close to the singer and a cable or adapter path that actually fits the recording device.
Decision Table
| Need | Better Path | Why |
|---|---|---|
| Fastest setup | USB kit | Fewer parts and less gain staging to learn. |
| Future mic upgrades | XLR kit | The interface can stay while the microphone changes. |
| Recording in one room | Either path | Placement and room noise matter more than connector type. |
| Duets or two speakers | XLR interface with two inputs | A single USB mic is usually limiting for two separate sources. |
Buying Checks Before You Order
- Confirm whether the microphone uses USB, XLR or both.
- Check whether closed-back headphones are included or need to be added separately.
- Make sure the stand or arm supports the microphone weight.
- Leave room in the budget for an XLR cable if you choose the interface path.
- Plan where the singer will stand or sit before choosing a short desktop stand.
Who Should Not Use This Guide
This guide is for beginner home vocal recording, songwriting demos, online lessons and practical creator setups. It is not for live touring rigs, multi-mic drum tracking or studio buildouts that need acoustic treatment design, patch bays and multiple performers at once.
Read Next
Use the home vocal recording hub for the full beginner path. If you want a parts-first explanation, read how to build a vocal recording kit under 300. If you are choosing between connection types, start with do USB microphones need an audio interface?
FAQ
Should I buy the microphone first?
Only if you already know how you will mount it, monitor it and connect it. A balanced kit is usually more useful than a single better microphone with weak supporting parts.
Is USB bad for vocals?
No. A USB microphone can work well for beginner vocals when the room is quiet, the mic is close and the gain is controlled. XLR mainly adds upgrade flexibility and monitoring options.